
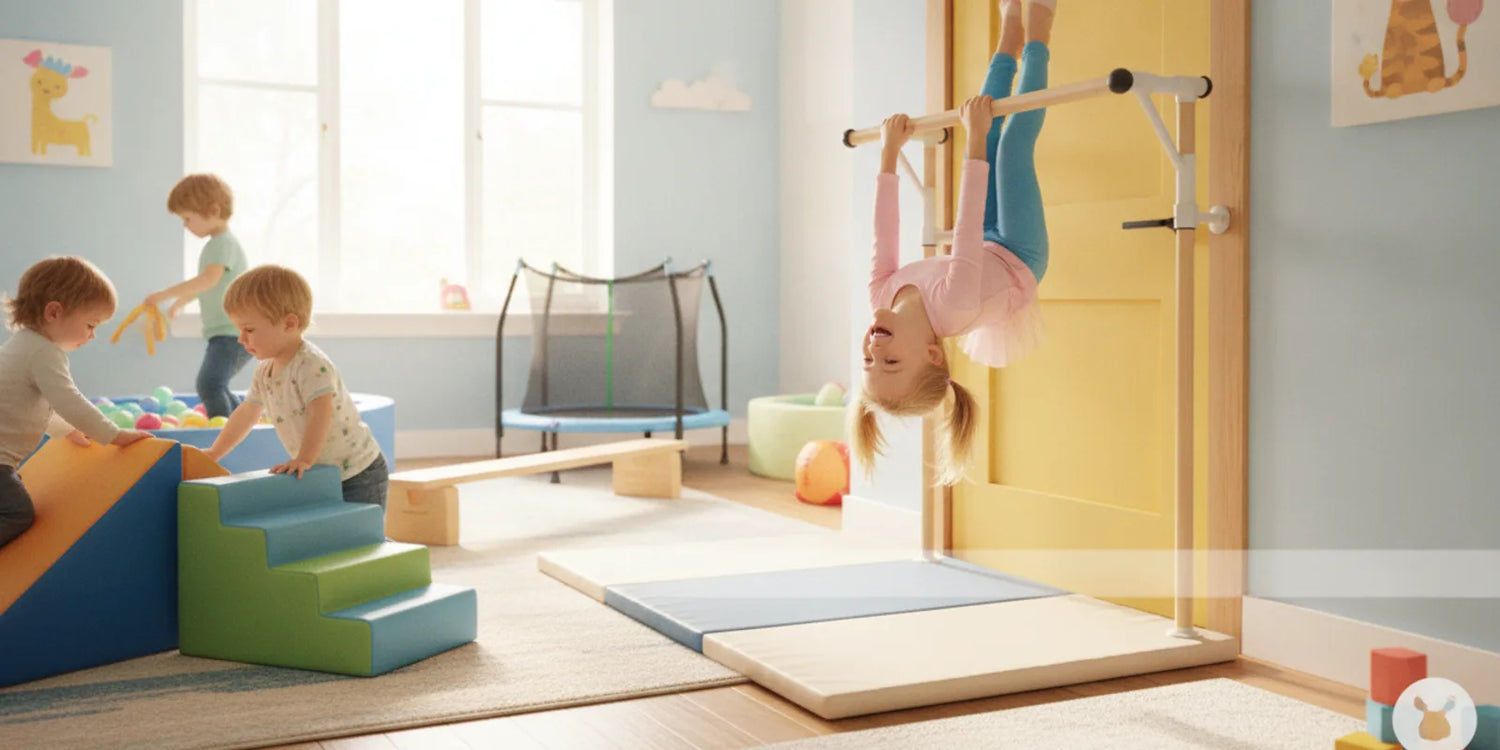
A gymnastic bar for a door frame lets kids and teens hang, swing, and build upper body strength without taking up floor space, making it one of the most practical starter pieces of home gymnastics equipment available for families today.
This guide covers every step parents need to know before the first hang, from measuring the door frame and choosing the right bar type to installing it correctly, verifying it is safe, and progressing through age-appropriate exercises.
Quick Answer: A gymnastic bar for a door frame fits most standard interior doorways between 24 and 36 inches wide, installs in minutes without tools using a tension-mount system, and gives kids ages 4 and up a safe space to practice dead hangs, tuck holds, and pull-up progressions at home when installed on a solid wood frame with a thick safety mat underneath.
Table of Contents
- What Is a Gymnastic Bar for a Door Frame?
- How Do You Measure Your Door Frame Before Buying?
- Which Type of Door Frame Gymnastics Bar Is Right for You?
- How Do You Install a Door Frame Gymnastics Bar Step by Step?
- What Exercises Can Kids Do on a Door Frame Gymnastics Bar?
- What Safety Rules Should Every Parent Enforce?
- Door Frame Bar vs. Freestanding Gymnastics Bar: Which Is Right for Your Family?
Key Takeaways
- Measure First: Most door frame bars require a doorway between 24 and 36 inches wide and at least 2.25 inches of flat wooden door jamb surface for a secure mount.
- Two Bar Types: Tension-mount bars need no drilling and suit occasional use; bracket-screw mount bars require pilot holes but provide more stability for regular gymnastics practice.
- Entrapment Gap Matters: The distance between the bar and the top of the frame must be under 3.5 inches or over 9 inches to eliminate head and neck entrapment risk.
- Adult Hang Test Required: Before any child uses the bar, an adult must hang from it to confirm the mount is fully secure.
- Know When to Upgrade: Once a child attempts kip drills or back hip circles, a freestanding adjustable kip bar provides the stability those skills require.
What Is a Gymnastic Bar for a Door Frame?
A gymnastic bar for a door frame is a horizontal steel bar that mounts across an interior doorway using either spring tension or screw-in brackets, giving children a safe hanging surface for gymnastics conditioning, pulling exercises, and basic bar skills without requiring a dedicated equipment footprint on the floor.
How Does It Differ from a Freestanding Gymnastics Bar?
A door frame bar relies entirely on the structural rigidity of the door jamb for support, while a freestanding bar stands independently on a wide base and tolerates more dynamic movement, including hip circles and kip drills.
- Space footprint: Door frame bars occupy zero floor space and can be removed in seconds, making them ideal for apartments or shared living rooms.
- Stability ceiling: Door frame bars are engineered for hanging and basic pulling loads, not for the swinging forces generated by advanced gymnastics skills.
- Adjustability: Most door frame bars extend to fit the doorway width but do not adjust in height, unlike a dedicated freestanding bar that grows with the child.
- Setup time: A tension-mount bar takes under two minutes to install or remove with no tools required.
Who Is It Best For?
Door frame gymnastics bars work best for children ages 4 to 12 who are building grip strength and basic bar confidence, and for families who want a low-commitment entry point before investing in a larger home gymnastics setup.
- Young beginners (ages 4-7): Dead hangs and tuck holds are well within the load range a quality door frame bar handles safely.
- Space-limited homes: Renters and families without a dedicated playroom benefit most from the zero-floor-space footprint.
- Supplemental training: Kids already attending gymnastics classes can use a door frame bar at home to maintain grip strength and body tension between sessions.
Families who want a full home practice setup should also explore the gymnastics equipment bundles that pair a bar with mats and beams for a more complete training environment.
How Do You Measure Your Door Frame Before Buying?
Measuring your door frame before purchasing a gymnastic bar is the single most important step because a bar that does not fit the doorway dimensions correctly cannot be installed safely, regardless of the product quality.
What Width, Depth, and Trim Clearance Do You Need?
Most door frame gymnastic bars are designed to fit standard interior doorways between 24 and 36 inches wide, so measure the inside opening from jamb to jamb at the point where the bar will sit before ordering.
- Jamb flat surface: Installation guides recommend a minimum 2.25 inches of flat, unobstructed door jamb surface on each side so the bracket contacts the wood fully and does not rock.
- Door frame material: The jamb must be solid wood. Metal door frames, hollow composite frames, and drywall-only walls do not provide the structural resistance needed to hold a loaded bar safely.
- Trim profile: Rounded, decorative, or heavily beveled trim prevents the bracket from lying flat. Run a finger across the top trim before buying to confirm it is flat enough for the bar's contact pads.
- Frame depth: Leverage-style bars need the top hooks to sit flush on the upper trim. If crown molding or a tight ceiling line crowds the top of the frame, the bar may not seat correctly.
What Ceiling Clearance and Landing Zone Do You Need?
Measure the distance from the installed bar height to the ceiling and confirm there is a clear, open floor area directly below the bar before allowing any practice.
- Ceiling clearance: Children need enough overhead room to extend their arms fully at hang height without approaching the ceiling during any movement. The home gymnastics equipment guide recommends measuring ceiling height as the first step before buying any bar equipment.
- Landing zone: Place a thick gymnastics mat directly under the bar. A mat of at least 4 inches thickness is a commonly recommended minimum for basic hanging practice, covering the full dismount area.
- Obstacle clearance: Remove chairs, furniture, and sharp-edged items from the space within several feet of the doorway on both sides before the first use.
Which Type of Door Frame Gymnastics Bar Is Right for You?
The two main types of door frame gymnastics bars are tension-mount bars, which use spring pressure against the jamb and require no drilling, and bracket-screw mount bars, which anchor permanently into the wood with pilot holes and screws for a more stable connection.
What Are the Differences Between Tension-Mount and Bracket-Screw Mount Bars?
Tension-mount bars are removable in seconds and leave no permanent marks, while bracket-screw mount bars create a firmer, more rigid anchor point that better suits children who practice regularly or put more dynamic load on the bar.
- Tension-mount pros: No tools, no drilling, fast setup and removal, suitable for renters and shared spaces.
- Tension-mount cons: Contact pads can scuff painted trim over time, the bar can loosen with vibration if not rechecked weekly, and the mount tolerates less lateral force than a screwed bracket.
- Bracket-screw mount pros: Significantly more rigid connection, designed for more frequent and heavier use, and recommended by most product manuals for children who use the bar daily.
- Bracket-screw mount cons: Requires drilling small pilot holes into the wooden jamb, which is a minor permanent modification, and takes more time to install correctly.
What Weight Capacity and Material Should You Look For?
Choose a door frame bar rated for at least 50 percent more than the heaviest user's weight to stay well within the safe operating range, and confirm the bar body is solid steel rather than hollow composite.
- Weight rating caution: Product installation guides consistently note that weight ratings assume perfect installation on a solid, undamaged wood frame. Treat the stated limit as an absolute maximum, not a comfortable target.
- Grip surface: Rubber or foam grip padding reduces calluses on young hands and improves hold reliability during wet or sweaty sessions.
- Bar diameter: A bar diameter that is comfortable for small hands encourages correct grip habits from the start and reduces the chance of accidental release.
Decision Guide: Which Bar Type Fits Your Home?
| Your Situation | Recommended Bar Type | Reason |
|---|---|---|
| Renter, occasional use | Tension-mount | No drilling, removable instantly |
| Homeowner, daily practice | Bracket-screw mount | More rigid, handles regular loading |
| Child under 7, beginner | Either type | Light loads suitable for tension-mount with weekly inspection |
| Child progressing to kip or hip circle | Upgrade to freestanding | Dynamic skills exceed door frame bar design limits |
If your child is ready to move beyond basic hanging, the pro gymnastics bar for kids ages 3-15 offers the adjustable height and stable base that advanced skills require.
How Do You Install a Door Frame Gymnastics Bar Step by Step?
Installing a door frame gymnastics bar correctly takes five to ten minutes for a tension-mount model and about thirty minutes for a bracket-screw model, and every step must be completed in order because skipping any part of the sequence creates a safety gap that may not be visible until the bar is already under load.
What Tools Do You Need?
Tension-mount bars typically require only a tape measure and a pencil to mark the bracket placement, while bracket-screw mount bars additionally need a power drill, a 3/32-inch drill bit, and a Phillips-head screwdriver.
How Do You Mount the Bar?
Follow the specific sequence below for the most common lever-bracket tension style, which is the most widely sold door frame bar design for home use.
- Step 1 - Check the frame: Inspect the top door trim and both jambs for cracks, soft spots, or loose sections. Do not proceed if the frame shows any damage, and never install on a metal frame or a jamb anchored only into drywall.
- Step 2 - Measure bracket position: Mark both sides of the door frame so the gap between the bar and the top of the frame is either under 3.5 inches or over 9 inches. This keeps the space too small or too large for a child's head to become entrapped, following a critical entrapment-prevention guideline from product installation manuals.
- Step 3 - Clean contact points: Wipe dust and grime from the trim surface so the rubber pads grip cleanly and do not shift during the first load test.
- Step 4 - Seat the top hooks: Press the top hooks flat against the upper trim before extending the bar. The hooks must lie fully flat, not at an angle, so the downward force distributes evenly across the trim surface.
- Step 5 - Extend and tighten: Rotate the bar to extend it until firm contact is made on both sides. Tighten to the manufacturer's specification, then lock any safety clips the bar design includes. For bracket-screw mount models, pre-drill all pilot holes before inserting screws and tighten each screw flush to the bracket countersink.
- Step 6 - Grab-and-shake test: With both hands, pull the bar forward, backward, and downward firmly. If it shifts, creaks in the frame, or pops the paint, remove and reset before proceeding.
How Do You Verify the Bar Is Safe Before Your Child Uses It?
Before any child uses the bar, a supervising adult must hang from the bar with full body weight for at least three to five seconds while listening and watching for any movement, creak, or paint stress in the frame. This adult hang test is the standard safety verification step recommended across product installation manuals, because the weight of an adult exceeds the loads a child will generate and will reveal any weak point in the mount before a smaller user is exposed to it.
Place the gymnastics tumbling mat under the bar before the hang test so the landing zone is ready from the very first moment the bar is loaded.
The video below walks through a real-world gymnastic bar assembly and installation process so you can see each step before starting your own setup.
What Exercises Can Kids Do on a Door Frame Gymnastics Bar?
A door frame gymnastics bar supports a range of beginner to intermediate bodyweight skills that build grip strength, shoulder stability, core tension, and body awareness, all of which are recognized physical foundations for gymnastics progression according to sport-specific physical ability research.[1]
What Are the Best Beginner Moves for Ages 4-7?
Children ages 4 to 7 should start with static and low-movement skills that teach correct grip and body position before any swinging or dynamic loading is introduced.
- Dead hang: Grip the bar with both hands, let the body hang straight, and hold for 5 to 10 seconds. This is the foundational skill that builds the grip and shoulder strength everything else depends on.
- Bent-knee swing: From a dead hang, draw both knees toward the chest and hold briefly before lowering. The movement stays small and controlled, well within the load a tension-mount bar handles.
- Tuck hold: Pull into a tucked position with knees at hip height and hold for 3 to 5 seconds. This introduces core engagement without the shoulder demand of a full pull-up.
- Frequency for beginners: Two to three short sessions per week of 5 to 10 minutes each is sufficient for young children to build grip endurance without overloading developing joints. Pair sessions with a thick gymnastics mat underneath at all times.
What Are the Intermediate Progressions for Ages 8-12?
Children ages 8 to 12 who have mastered the dead hang and tuck hold can begin adding pulling and leg-raising movements, building toward the upper body strength required for formal gymnastics bar skills.
- Assisted pull-up: With a parent lightly supporting the hips, the child practices the full pull-up range of motion. Progress to unassisted pull-ups only when the child can control the full descent without dropping suddenly.
- Hanging leg raise: From a dead hang, raise both knees to hip height and lower with control. Focus on preventing the body from swinging during the movement.
- L-hang hold: Raise both straight legs to a 90-degree position and hold for 3 to 5 seconds. This is a challenging skill that requires solid core and hip flexor strength and should be introduced only after leg raises feel easy.
- Add reps gradually: Increase hanging repetitions by one or two per session rather than jumping in difficulty. Adding load too quickly is the most common cause of elbow and wrist overuse complaints in young gymnasts. Pair bar work with floor conditioning on an incline gymnastics mat to develop the core strength that supports every bar skill.
When Should a Child Progress to a Freestanding Kip Bar?
A child is ready to upgrade from a door frame bar to a freestanding kip bar when they begin attempting or expressing interest in kip drills, back hip circles, or any skill that involves swinging the hips to the bar, because those movements generate dynamic forces that a door frame bar is not designed to absorb.
- Skill signal: If a child consistently completes 5 unassisted pull-ups and can hold an L-hang for 10 seconds, their strength is ready for bar skill progression that demands a freestanding setup.
- Equipment upgrade: The Gymnastics Kip Bar Bundle provides the free-standing stability and adjustable height that kip and hip circle skills require at home.
- Next equipment step: Once bar basics are solid, an adjustable gymnastics beam is the natural next piece to add for a more complete home gymnastics environment.
What Safety Rules Should Every Parent Enforce?
Door frame gymnastics bars are safe pieces of equipment when installed correctly and used within their design limits, but a 2020 study in Cureus found that 100 percent of measured monkey bar apparatuses examined in a pediatric fracture study exceeded CPSC recommended maximum fall heights for preschool-aged children, underlining that height-related and clearance standards matter for all overhead bar equipment used by young children at home.[2]
"My goal is to expand opportunities for all youth to reap all the health benefits of participating in sports and physical activities while reducing their risk for injury."
Cynthia R. LaBella, MD, FAAP, Medical Director Institute for Sports Medicine, Ann and Robert H. Lurie Children's Hospital of Chicago
What Are the Essential Pre-Use Safety Checks?
Perform these checks before every single session, not just at installation, because wood frames can shift seasonally, foam padding compresses over time, and children grow heavier as the months pass.
- Grab-and-shake: Pull the bar in the direction it will be loaded. Any movement, pop, or creak means the mount needs to be reset before use.
- Frame inspection: Look at the door jamb contact points for new cracks, splintering paint, or loose trim. Stop immediately if any of these appear.
- Pad condition: Check that rubber or foam pads are intact and not compressed flat. Compressed pads reduce grip friction and allow the bar to shift under load.
- Landing zone: Confirm the mat is in place and has not shifted since the last session. A mat that has slid even a few inches leaves a gap in the landing zone.
What Are the Non-Negotiable Rules During Use?
These rules apply every time a child uses the bar, without exception, and should be explained to children as the reason they get to keep using the equipment rather than as arbitrary restrictions.
- Adult supervision at all times: A supervising adult must be present for every session. No child should use a door frame bar unsupervised, regardless of age or experience.
- No flips or release moves: Door frame bars are not designed for any skill involving releasing and regrasping the bar or any rotational move around it. These forces can dislodge even a well-mounted bar instantly.
- One user at a time: Never allow two children to hang simultaneously. Combined weight doubles the load on the mount and the frame.
- Stop on sharp pain: Soreness from gripping is normal, but sharp or sudden pain in the wrist, elbow, or shoulder means stop immediately. A 2024 review in the Journal of the Pediatric Orthopaedic Society of North America identifies growth plate stress injuries and elbow osteochondritis dissecans as common upper extremity concerns in young gymnasts, making early pain recognition a key part of safe home practice.[3]
- No socks on a slippery floor: The area under and around the bar must be free of wet socks or slippery footwear to prevent falls on the dismount.
What Common Mistakes Should Parents Avoid?
Most door frame bar incidents trace back to one of three preventable errors that occur at the selection or installation stage, not during normal use.
- Wrong frame material: Installing on a metal door frame, a hollow-core composite jamb, or a section of wall anchored only in drywall is the most serious installation error. Manufacturers consistently advise installing only on solid wood door frames, and no product guarantee or weight rating applies when this rule is ignored.
- Skipping the entrapment gap check: Positioning the bar so the gap between the bar and the top of the frame falls between 3.5 and 9 inches creates a space where a child's head can become trapped. This check takes under 30 seconds with a tape measure and should never be skipped.
- Exceeding the weight limit: Weight ratings reflect the maximum load under ideal conditions. Using the bar near or at the stated limit, especially with dynamic movements, risks frame damage and mount failure. If the child is close to the weight limit, the safer path is the gymnastics bar and mat set, which is a freestanding unit with a rated capacity designed for a full range of child sizes.
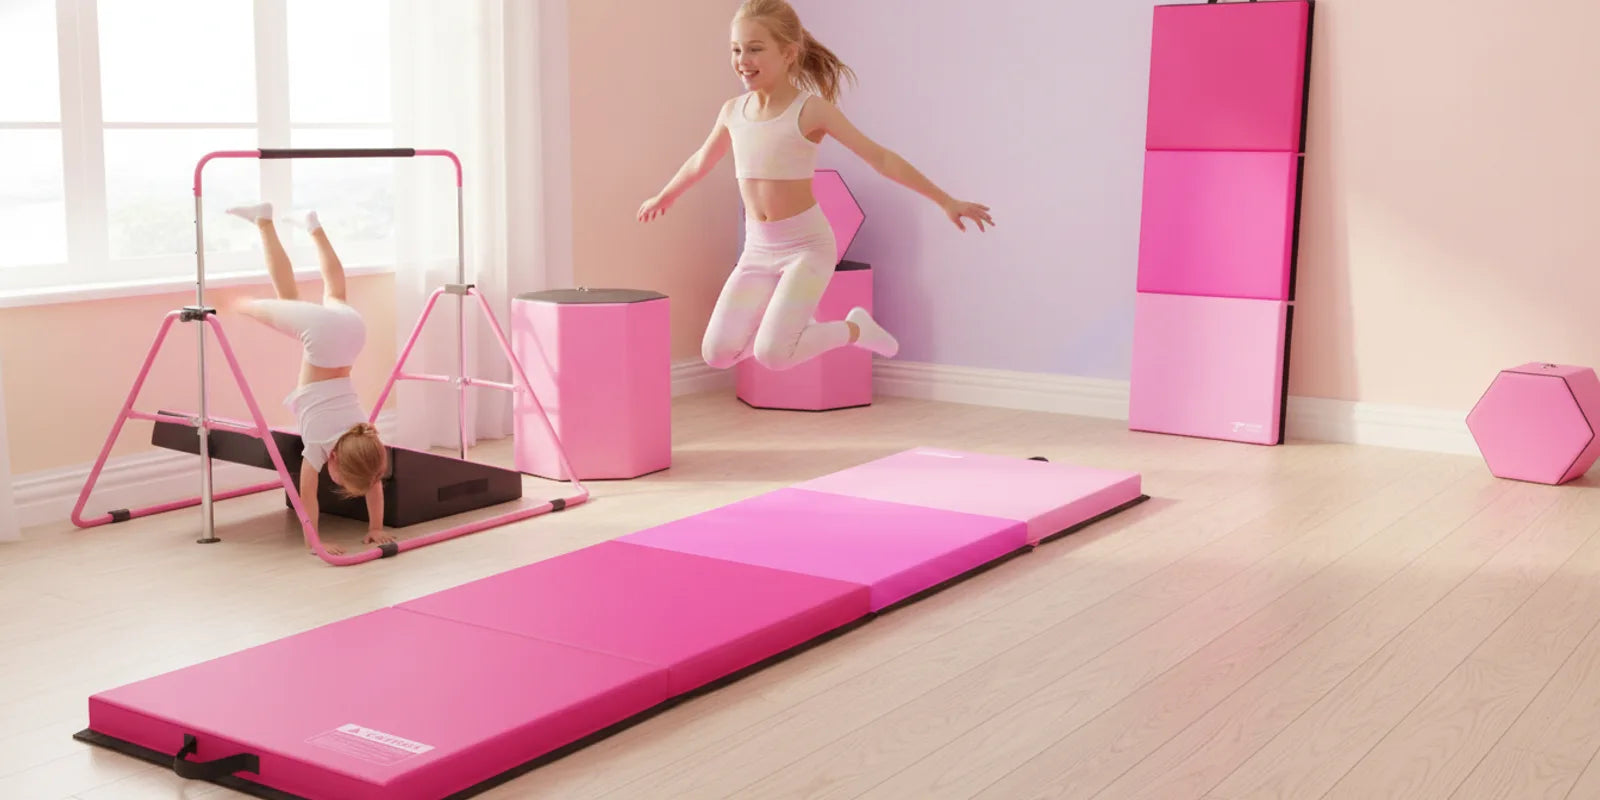
Door Frame Bar vs. Freestanding Gymnastics Bar: Which Is Right for Your Family?
A door frame gymnastics bar is the right starting point for families who want a low-cost, low-footprint entry into home gymnastics, while a freestanding bar is the correct choice once a child is ready for skill progression, greater height adjustability, or more frequent structured practice.
| Factor | Door Frame Bar | Freestanding Bar |
|---|---|---|
| Floor space needed | Zero (uses doorway) | Dedicated floor area required |
| Height adjustable | No | Yes, grows with child |
| Skills supported | Hang, pull-up, leg raise | Kip, hip circle, advanced skills |
| Installation | Minutes, no tools (tension-mount) | Assembly required, permanent setup |
| Cost entry point | Lower | Higher |
Families who decide to invest in a freestanding setup should browse the gymnastics beam collection alongside a kip bar, as the beam is the natural pairing once bar basics are established. For hanging ring skills, the adjustable gymnastics hanging rings can also mount in a doorway and complement bar training without requiring floor space.
FAQs About Gymnastic Bar for Door Frame
What door frame width do I need for a gymnastic bar?
Most door frame gymnastic bars fit doorways between 24 and 36 inches wide, which covers the majority of standard interior door frames in North American homes. Before buying, measure the exact inside width of your door frame and compare it to the bar's specified fit range in the product description to confirm compatibility.
Are door frame gymnastic bars safe for young children?
Yes. A properly installed door frame bar can be safe for children ages 4 and up when mounted on a solid wood frame, the weight limit is respected, and an adult performs a hang test before first use. Place a thick safety mat underneath and maintain adult supervision at all times, starting children on basic hanging skills before progressing.
Can a door frame bar damage my door frame?
A tension-mount bar can scuff or dent painted trim over time, especially if the child swings or adds lateral force. Using wide rubber padding and checking for frame creaks weekly helps minimize wear. Bracket-screw mount bars require drilling small pilot holes, which is a minor but permanent modification to the wooden door jamb.
What exercises can kids do on a door frame gymnastic bar?
Children ages 4 to 7 can practice dead hangs, bent-knee swings, and tuck holds to build grip strength and body awareness. Older children ages 8 to 12 can progress to assisted pull-ups, hanging leg raises, and an L-hang hold. All skills should be introduced one at a time with adult spotting until the child can perform them independently with control.
When should I upgrade from a door frame bar to a freestanding gymnastics bar?
Consider upgrading once your child begins practicing kip drills, back hip circles, or any dynamic release and regrasp skills, since these moves generate significant swinging force that a door frame bar is not designed to absorb safely. A freestanding adjustable kip bar provides the stability and clearance needed for those more advanced gymnastics movements at home.
Do I need a mat under a door frame gymnastic bar?
Yes. A thick gymnastics or exercise mat placed directly under the bar is essential because falls from hanging height can cause wrist, elbow, or shoulder injury on hard flooring. A mat of at least 4 inches thickness is a commonly recommended minimum for basic hanging practice, and a larger coverage area gives kids a safe landing zone on every dismount.
Conclusion
A gymnastic bar for a door frame is one of the most space-efficient ways to give children a home gymnastics starting point, but it delivers that value only when the door frame is correctly measured, the bar is matched to the frame type, and every session begins with the adult hang test and a mat in place.
Start with a tension-mount bar and basic hanging skills, upgrade to a freestanding adjustable foldable kip bar for kids when your child is ready for skill progression, and add a beam to complete the home gymnastics setup.
Disclaimer
The information in this article is intended for general educational purposes and does not constitute professional medical, safety engineering, or structural advice regarding any specific door frame, building type, or individual child's physical condition. Always follow the manufacturer's installation instructions, consult a qualified professional for structural concerns, and seek guidance from a certified gymnastics coach before introducing new skills at home.
References
1. Sleeper MD, Kenyon LK, Elliott JM, Cheng MS. MEASURING SPORT-SPECIFIC PHYSICAL ABILITIES IN MALE GYMNASTS: THE MEN'S GYMNASTICS FUNCTIONAL MEASUREMENT TOOL. International Journal of Sports Physical Therapy. 2016;11(7):1082-1100. https://pmc.ncbi.nlm.nih.gov/articles/PMC5159633/
2. Teitelbaum MP, Stankovits L, Curatolo E. Monkey Bar Dimensions Associated with Pediatric Upper Extremity Fractures Show Deviations from United States Product Safety Commission Recommendations. Cureus. 2020;12(1):e6534. https://pmc.ncbi.nlm.nih.gov/articles/PMC6993068/
3. Hart E, Bauer AS, Bae DS. Common upper extremity gymnastics injuries and gymnastic specific return to play protocols. Journal of the Pediatric Orthopaedic Society of North America. 2024;6:100016. https://pmc.ncbi.nlm.nih.gov/articles/PMC12088353/
Leave a comment
This site is protected by hCaptcha and the hCaptcha Privacy Policy and Terms of Service apply.